Integrate OneDrive
The integration enables you to import data from your Microsoft OneDrive folder to the knowledge base, automatically synchronising and re-indexing it.
Data to import
The integration imports files from the selected folder into your knowledge base. This integration supports the same file formats as manual uploads.
Ensure that the files do not contain any confidential information. All downloaded data is available for indexing and use. Your customers or employees can access this information when they query the knowledge base.
To set up integrations, you need at least the KHUB_EDITOR role.
Set up integration
To import data from a OneDrive folder:
-
Go to the Integrations section and click Connect → OneDrive.
If you selected Connect integration during project creation, you will be automatically redirected to the new integration page.
-
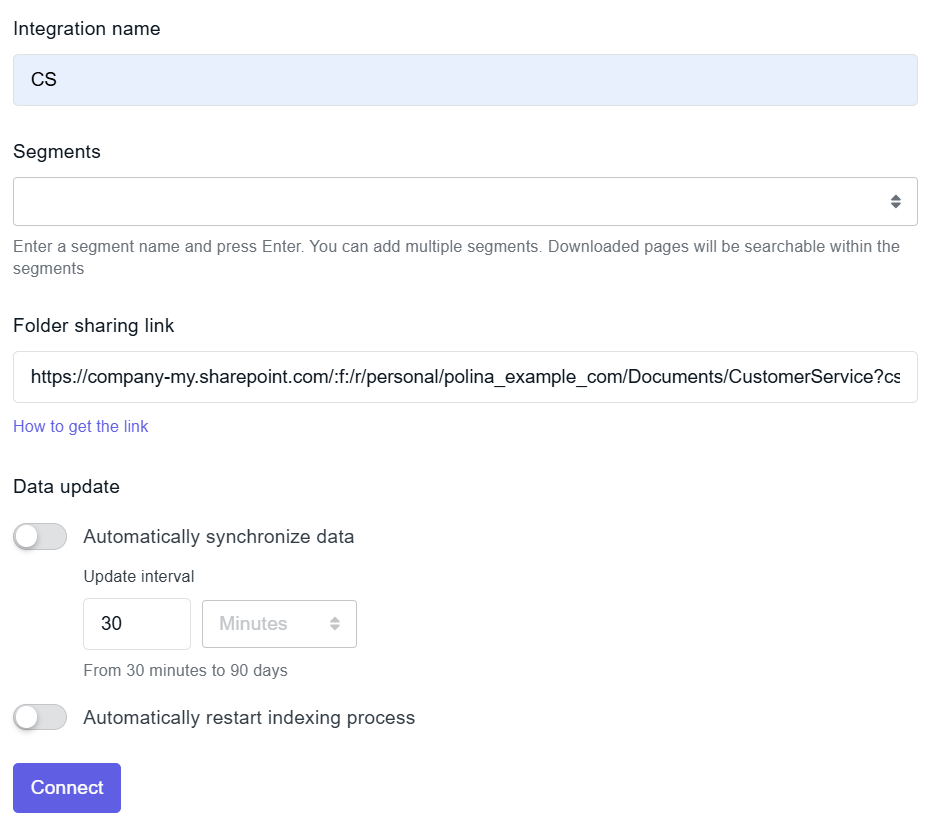
Specify the integration settings:
-
Integration name: Prefix for the names of sources imported from this integration.
-
Segments: Segments to assign to sources imported from this integration. Segments group sources with a common theme, allowing you to limit searches to specific segments when querying the knowledge base. For more details, see the Segments section.
-
Link to folder:
How to get the link
On the OneDrive website, select the folder and click Copy link.
Click to open the link settings, then select Only people with existing access.
For more information, see Microsoft Help.
-
Automatically synchronise data: Enable this option to keep the knowledge base up to date, or disable it for a one-time import.
tipAvoid adding incorrect or sensitive data to the selected folder, as it will automatically appear in the knowledge base during the next synchronisation.
-
Automatically restart indexing: Enable this option to re-index the knowledge base after each synchronisation.
noteYou can change these settings later.
-
-
Click Connect.
-
A new tab will open asking you to approve the access request. Sign in to your Microsoft account and grant the Tovie Data Agent application access to your data.
Immediately after setup, the integration status will be “Updating.” When it changes to “Connected,” you can view the downloaded sources in the Sources section.
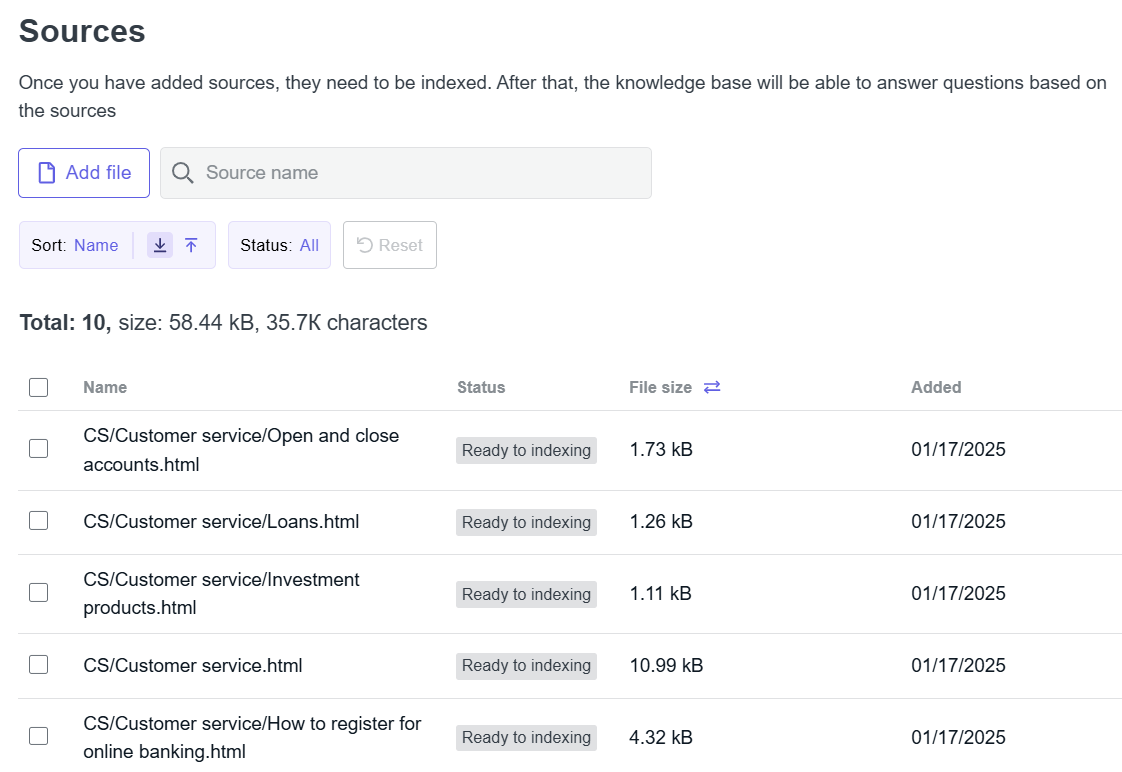
In addition to importing data via integrations, you can also upload files manually.
After the data is imported, you need to index the knowledge base.
To learn about manual synchronisation and changing integration settings, see the Manage integrations section.